Honey 100 & 101: Ideal Bike Setup

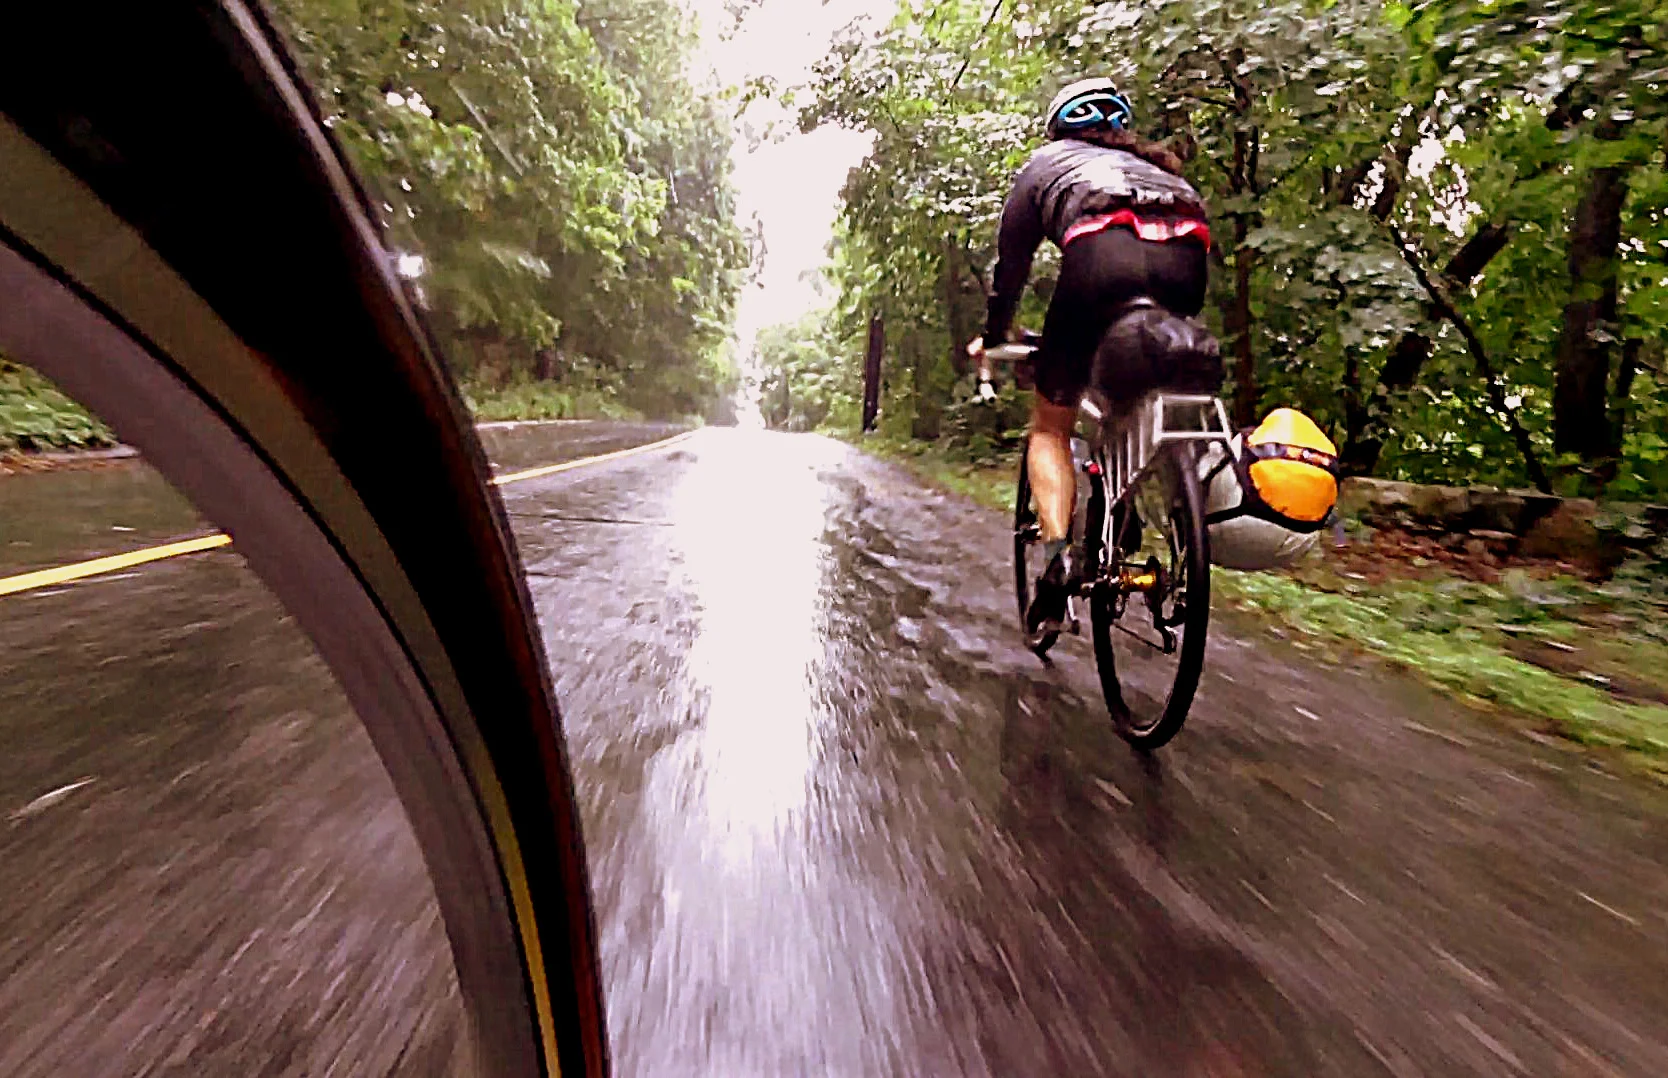
Every mixed-terrain ride is different - that's one of the reasons we love rides like the Honey 100 and the 101.

These Honey routes contain some of everything - from pavement, rough roads, dirt roads, abandoned trails, aqueduct tracks, mountain bike singletrack, and on and on.  To that end, here's the bike setup we recommend.

Of course, there are lots of approaches to the ideal bike, with no single right answer for everyone.  The most fundamental focus of the bike is to ensure that it's safe to ride, it gets you safely where you want to go, and that you’ve set it up for optimized durability and comfort.

The most balanced and durable bike setup for the 2015 Honey 100 is likely to include the following:

Tires 

Weather and trail conditions will affect the ideal choice for the Ride.  Route diversity shows that you'll want to have 25c slicks on some paved sections and 2.5" mountain tires on some of the rooty singletrack sections.  However, since you'll probably only bring one set of tires, we expect the following type of tire will be the most versatile and durable:

  • Tire Size:  32c minimum.  40c will be popular.  Bigger than about 43c will make the paved sections seem longer.  It really depends a lot on your riding skill set; as an example, a skilled mountain biker can get away with narrow tires, maybe a 28c to 35c semi knobby, on this route.  For those that spend more time on the road, and are not as technically comfortable, a wider tire 35c to 45c knobby – that provides control, flat protection, and grip – will be well worth the trade-off relative to a narrower tire’s road speed.
  • Tire Tread:  Definitely something.  Knobbies or filetread at least.  A tire that has a bit of a center ridge – for road speed – and knobs on the sides – for offroad control – is the tire that we’ll be riding.  The Clement MSO 40c is a good example of this style of tire.  As stated above, there are some mountain bike trails and some great paved sections on the route.  In the end, you want a tire that works in both extremes – tailored toward being more beneficial to your weakness as a rider.
  • Tire Pressure:  Of course, as with everything, personal preference is the rule.  We recommend riding within about 10-25% of maximum air pressure recommended by the tire manufacturer.  This will help you avoid flats, and you’ll roll faster on the road.  Getting a flat when you’re 50-miles into the ride can be a really frustrating thing.  While your bike will ride a bit stiffer, most people with which we ride tend to trade that for reducing the chance of a flat.

Gearing  

A lot of riders are likely to use compact chainrings in the front:  50-34t.  For the rear cassette, we like low gears for grinding up the steep singletrack so we're riding 12-32t cassettes.  There are a few moments on the route that reach a 10+ percent grade, or more, on dirt; these sections are very short, but a 1:1 gear ratio might be appreciated.

Handlebar Type

Drop bars will be more comfortable on the road sections.  Also, the additional hand positions afforded by drops will be welcome in the fifth hour of the ride.

Pedal System

Clipless pedals are required, not just recommended.  If you don't ride clipless you're going to have a very difficult time on this ride.

Sometimes people ask about using road pedals and shoe versus mountain bike shoes and pedals.  We strongly recommend offroad shoes; the trails are tough on road cleats.

Durability

If you don't do long mixed-terrain rides very often, you may be surprised at how tough the trails can be on your bike.  Make sure your bike has good tires with no cuts or chunks missing, good brake-pad wear remaining, your cables aren't frayed, all bolts are properly tight, and your chain is reasonable new and oiled - and then dried.  Basically, make sure your bike is tuned-up really well.  It's embarrassing to have something fall off your bike or end your ride early.

That covers the primary aspects of the bikes.  Regarding all the other elements – brake type, wheel choice, mudguards or no – we don’t have strong opinions.  However, please contact us with any specific component questions.

We look forward to seeing you on this trail!

Is the Formidable Pavé Ride the Toughest Ride?

The question of the day is, "how can Overland boast that the Formidable is the toughtest ride in Massachetts?"  Good question.  And it is a bit of a bold statement that is out of character with Overland.  But, that's what we wanted to create with this project -- the toughest one-day event possible.  We'd had requests for an event like this, and it felt like a good challenge.

So, how do we define the parameters?  For this challenge, it was faily simple.  We could think of only a few restrictions:

  1. Location:  Within the borders of Massachusetts.
  2. Terrain Type:  100% pavement.
  3. Time-Frame:  Single day ride.
  4. Structured, legal, and safe:  Organized, supported, sanctioned, and insured.

Given these parameters, why do we think we've created the toughest ride?

  • Distance:  This is typically the first measuring stick for toughness.  The full Formidable is 163 miles.  There is only one other single day ride we know that's longer:  the NER 300k ride that is 193 miles.  So, the NER ride is 18% longer.
  • Total Ascent:  We offer just over 10,200 feet of climbing for the Full Formidable.  The NER 300k has 11,000 feet of climbing.  So the NER ride does have 10% more total feet, and that is tougher for sure.  
  • Climbing Per Mile:  The Formidable averages 61 feet per mile.  The 300k NER ride averages 58 feet per mile.  This means the Formidable provides 5% tougher climbing per mile.  We believe that more flatter miles is easier than fewer steeper miles.  Of course, that's a bit of a subjective measure.
  • Cutoff Time:  We have a minimum pace requirement.  Randonneur rides -- like the NER rides -- have cutoff times, too, but the Formidable's is a much higher pace; about 25% tougher than the NER 300k.
  • Timed Segment Challenges:  In order to keep the pressure on, we have segments throughout the ride that we've designed to crack those riders that push during those segments.  
  • Point-to-Point:  You can't really bail during this ride.  Once you've passed the half-way point it's "easier" to finish than to head home.  Of course, we do have a support vehicle that most randonneur rides don't, but that's doesn't take much pressure off.

To summarize, although there is one ride in Massachusetts that is a bit longer with a bit more climbing, the Formidable requires a much faster sustained pace, you have to be committed to completing pretty early in the ride, and we're pushing people to ride segments at hard pace.

We think we've created the toughest ride.  Join us and find out for yourself.

Of course, we've probably missed a tough ride or two.  What ride in Massachusetts do you think is toughest?

Clothing: Riding In the Rain

What's the right clothing setup for rain riding?  It depends on the temperature.

When it's 70 degrees or warmer, rain riding is pretty simple.  We use a cycling cap with a brim and carry a rain jacket, and that's about it.

Once the temperature begins to get into the 40's, we get a bit more complicated.  And a single-day ride.

  • Cycling cap with a brim.  There are a few reasons we like these.  The brim keeps rain and grit out of your eyes.  The cap itself helps keep water from getting in your eyes from your forehead and hair.  We also make sure the cap has ear-flaps -- a three season cap.  Better too warm than too cold.
  • Helmet cover.  We typically don't wear this because we end up needing a headlight at some point in the ride.  However, a helmet cover is a good addition to a cap; it keeps water from endlessly flowing into your eyes.
  • Nitrile or latex gloves.  If you tend to get cold fingers or if you have Raynaud's disease you'll want to wear these under your regular cycling gloves.  Even when it's not cold, if it's raining, Raynaud's can be a problem -- and nitrile or latex gloves make a big difference.
  • Neck warmer:  A thin neck warmer is versatile and provides a bit of protection.  A cold neck is a nasty thing.
  • Embrocation.  Activates when wet.  If you're going to be out and wet all day, embrocation can help mitigate the feeling of cold.
  • Extra chamois creme.  Chaffing with a wet chamois.  Carrying individual packets for the tenth hour or riding in the rain can be a blessing.
  • Waterproof socks.  Dry feet can feel great.  Most socks aren't really waterproof.  Overshoes aren't really waterproof.  Waterproof socks are really waterproof.

We know some riders that carry spare gloves and cap.  We don't do this for single day rides.  However, if you're getting mentally down, a dry pair of gloves will feel good for a bit.  If you carry spare clothing, make sure they're in waterproof bags.

Fenders:  Read our thoughts here.  Essentially, for road riding they're great!  For mixed-terrain riding, not so great.

What gear do you rely on when you know you'll be riding in the rain?

Dusk to Dirt Ride

The second to last Dusk to Dawn Test Ride is happening soon.  This next ride is only open to riders that have done one or more of the following with Overland Base Camp:

If you've done one of these you will be receiving an email invitation from OBC.

Seem a bit onerous to join the ride?  It's really that we have limited space available for making this type of night ride safe and successful; we can't manage 30 riders on a test ride. 

Just register for the Dusk to Dawn Ride and you'll get to do all kinds of great rides with us.  Time is running out to register.  Life is short; there may not be any "next year.

Night is falling.

Bike Riding Near Horses

When we're scouting or doing OBC events, we'll often see horses and horseback riders along the way.  A couple of us are very amateur equestrians - we love horses.

While horses look calm and relaxed, they actually scare easily.  Most horses don't have much experience with cyclists.  In general, bikes and riders make horses nervous.  Sometimes horseback riders are nervous around cyclist, too.  If the horseback rider is nervous the horse will be nervous, too.  A nervous horse is a dangerous horse for the horseback rider.  

Here is what we ask you to do when you come upon a horse and rider:

  • Stop immediately; the farther away from the horse you are, the better.  This helps acclimate the horse to your presence.
  • Turn your bike so it's facing the horse.  This minimizes the visual size of the bike by partially obscuring it.  This will reduce the horse's confusion about the interaction and make you and the bike less imposing.
  • Talk to the horseback rider.  The horse will be confused by your bike; the sound of voices is common for horses, so the horse will be more likely to relax - reading you as a person rather than an unknown creature with handlebars for horns and wheels for feet.
  • Ask the rider what to do.  Every horse has a different background.  The horseback rider knows best what is wise for you to do.
  • Be nice to the horseback rider.  In some areas of New England horseback riders and cyclists have a contentious relationship.  Let's represent cycling in the most positive light possible.  It's also quite possible that the horseback rider will be a bit nervous because the horse is in an unpredictable situation.
  • Wait for the horse and rider to go by you.  Take a moment to appreciate how amazing horses are!  Did you know that the horse is the inspiration for the bicycle?  Without horses the bicycle may not exist.  Respect.
  • Roll-out slowly and predictably.